 Home
Home Samples
 Help
Help Buy Now
 Download
 Contact Us
Free and easy web animations generator.
XP,Win7,Mac,iPhone-style buttonsFree Web Buttons has tons of professionally designed button templates based on latest web trends. Just select the template you like and type your text!
No drawing, No coding!
You will not need any skills in html with Free Web Buttons. All programming will be completed for you. There even will be no necessity to edit your html code to insert a completed button-menu. Just point out the place on your page, where you want the buttons to be, and then press "Insert".
Instant preview
Each change of button menu appearance is instantly displayed in the Preview Window.
Extended capabilities to save and export the results
Everything you create with the program, has been saved in the Project File. This allows you either to continue your work at any time, or share your ideas with friends and colleagues. You can also save your menu as a HTML page, or export it as separate graphic images.
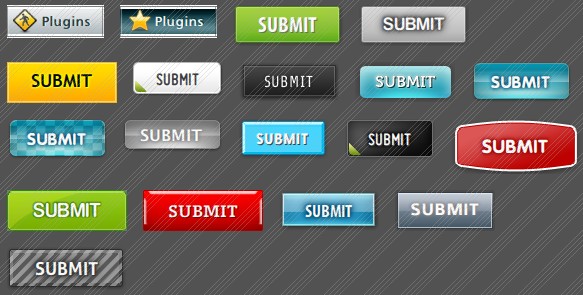
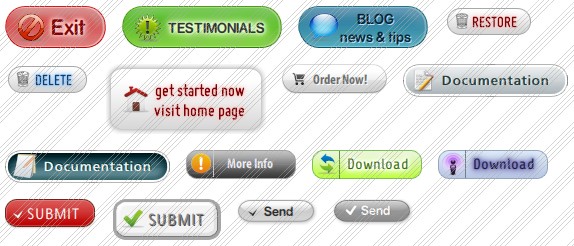
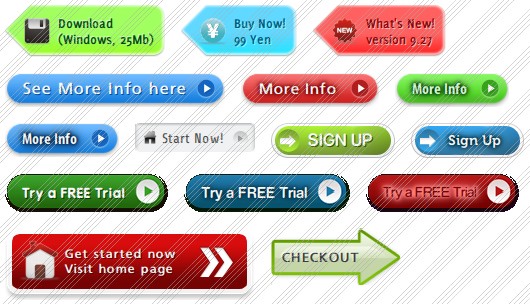
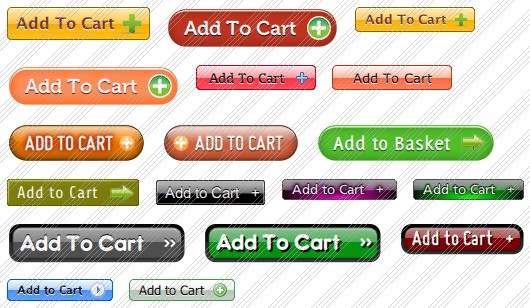
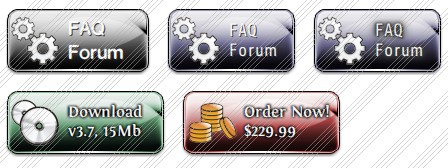
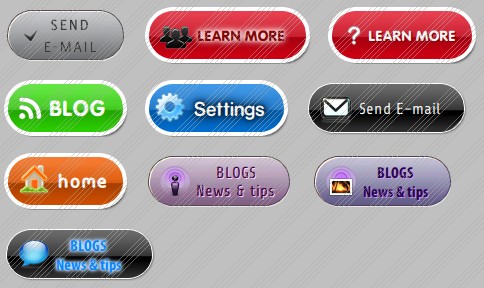
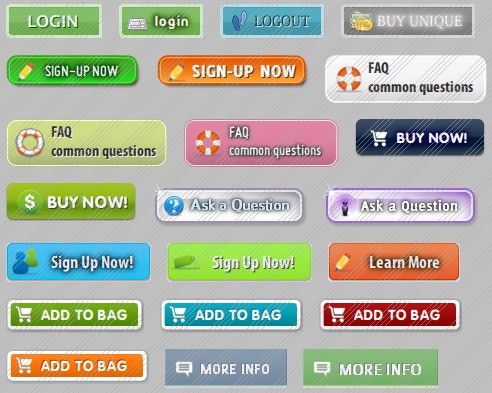
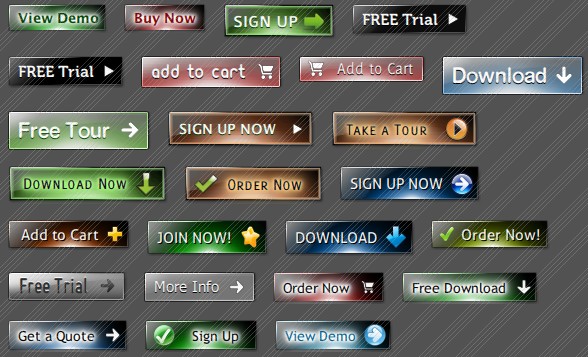
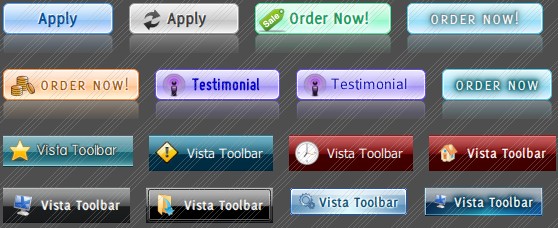
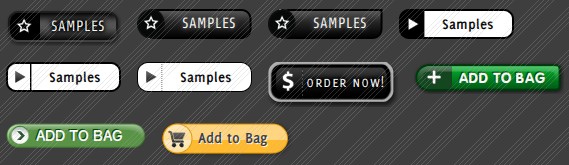
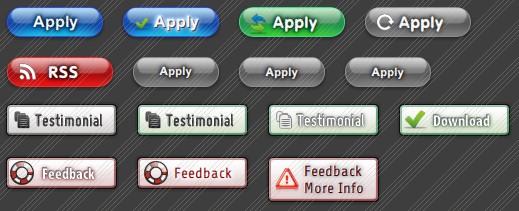
WEB SITE MENU BUTTONS SAMPLE
Below you can see samples of just some of web menu button designs you can develop with Free Menu Buttons.The left column contains button screenshots (click to enlarge), the right one contains live examples.


HOW TO CREATE THE MOUSEOVER BUTTON MENU WITH CREATOR
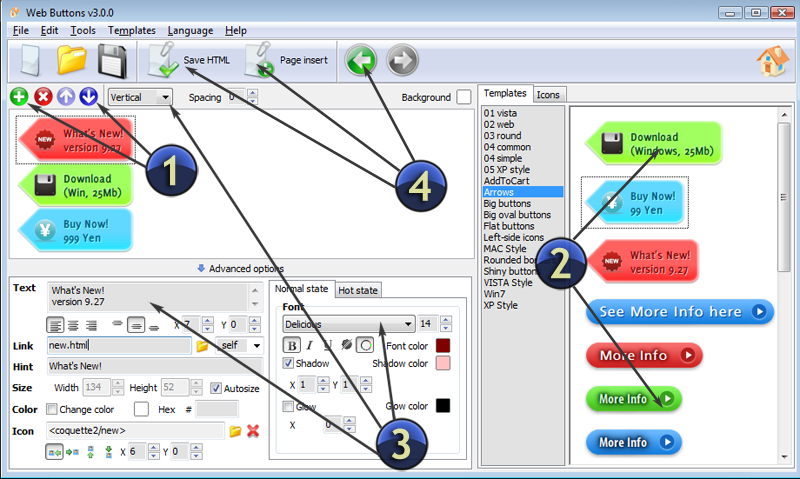
- Click "Add item" or "Delete selected item" buttons situated on the Web Button's Toolbar to add/delete buttons. You can also use "Move selected items" buttons and move your buttons inside the menu.
- Use ready to use Templates to create your buttons. To do it just select the template you like in the "Templates" tab.Then you can browse these template backgrounds. When you find a button template you like, double-click it to apply.
- Adjust appearance of your buttons.
- 3.1. Define the button's orientation.
- 3.2. Select web button by clicking it and change button's appearance for normal and mouse over states and set button's link properties and link target attributes.
- Save your buttons.
- 4.1. Save your project file. To save a project just click "Save" button on the Toolbar or select "Save" or "Save As.." in the Main menu.
- 4.2. Save your buttons in the HTML format. To do it click "Save HTML" button on the Toolbar or select "File/Save as HTML..." in the Main menu.
- 4.3. Insert your create rollover button into the existing HTML page. To do so, click "Page insert" button on the website buttons Toolbar. "Build the Menu Into Your Page" dialog will appear.Make Rollover Buttons On The Web And Download Website Rollover Buttons Free
Choose a page you want to insert your buttons into. Then set the cursor to the line you want theCreat Web Buttons Webcode to be added to and click the "Insert Menu" button. The button's code will be inserted into the page. Then you can either save the page or close the dialog without saving.
FREE WEB BUTTON CONTACT


FEEDBACK
Please make a dontation button (paypay or any) for I make a donation to you and support your wonderfull job.
Free buttons is the best I have ever seen.
Nice program. Is there a way to make dropdown sub-menu items?
SEE ALSO
CorelDRAW Tutorials Create Button Rollover States. To make the button interactive, you can add a realistic Create Rollover button (shown below) to convert the entire button
Creating a Rollover Button This tutorial explains how to create Photoshop Elements to create rollover buttons for use on web pages.
Button Rollover 373k - Adobe PDF - View as html
Rollover Buttons with JavaScript This tutorial shows you how to create a rollover image button using JavaScript.
Creating JavaScript Rollover Buttons Creating JavaScript Rollover Buttons - Part IV. FrontPage Newsletter Article July 2002 You will also find many pre-made JavaScripts for rollover button menus.
How to Create Interactive Rollover Buttons in Dreamweaver How to Create Interactive Rollover Buttons in Dreamweaver. Anyone visiting your website will expect to see your buttons change when the mouse rolls over them.
Creating JavaScript Rollover Buttons Creating JavaScript Rollover Buttons - Part IV. FrontPage Newsletter Article July 2002 You will also find many pre-made JavaScripts for rollover button menus.
Best free rollover buttons downloads. Free program to create Rollover buttons software: Free program to create cool 3D web buttons, Create stylish web buttons with ease!, Create superior web buttons in a few clicks!
Creating a Rollover Button for the Web In this tutorial, you'll create a rollover button that changes its appearance when you click or point to it. export rollover buttons to the Macromedia Flash format (.swf)
Creating a Rollover Button This tutorial explains how to create Photoshop Elements to create rollover buttons for use on web pages.
Creating a Rollover Button for the Web In this tutorial, you'll create a rollover button that changes its appearance when you click or point to it. export rollover buttons to the Macromedia Flash format (.swf)
Creating Rollover Buttons using Adobe Photoshop Rollover buttons are normally found in menus or navigation bars, they You now need to create two layers to provide each of the rollover button states.
Creating a Rollover Button for the Web In this tutorial, you'll create a rollover button that changes its appearance when you click or point to it. export rollover buttons to the Macromedia Flash format (.swf)
CIS 1055 During Lab To use the rollover feature, you will need to create your own images. Using a website to create a button gives you less options than if you
Rollover button in Flash In this tutorial you will see how to build a simple rollover button. Create a new flash document and let's quickly build a simple button. Select your